Jenny Riff is a jazz guitarist and a music therapist. She has a master's degree in Music Therapy and uses guitar in her therapy sessions. Jenny loves to explore the therapeutic effects of music and shares her insights with the Guitars Republic community.
Repairing a guitar nut is a common DIY guitar repair task that can be tackled by anyone with a bit of patience and the right tools. Here's a step-by-step guide on how to repair a guitar nut.
🎸 Step 1: Let's Set the Stage for Your DIY Guitar Repair
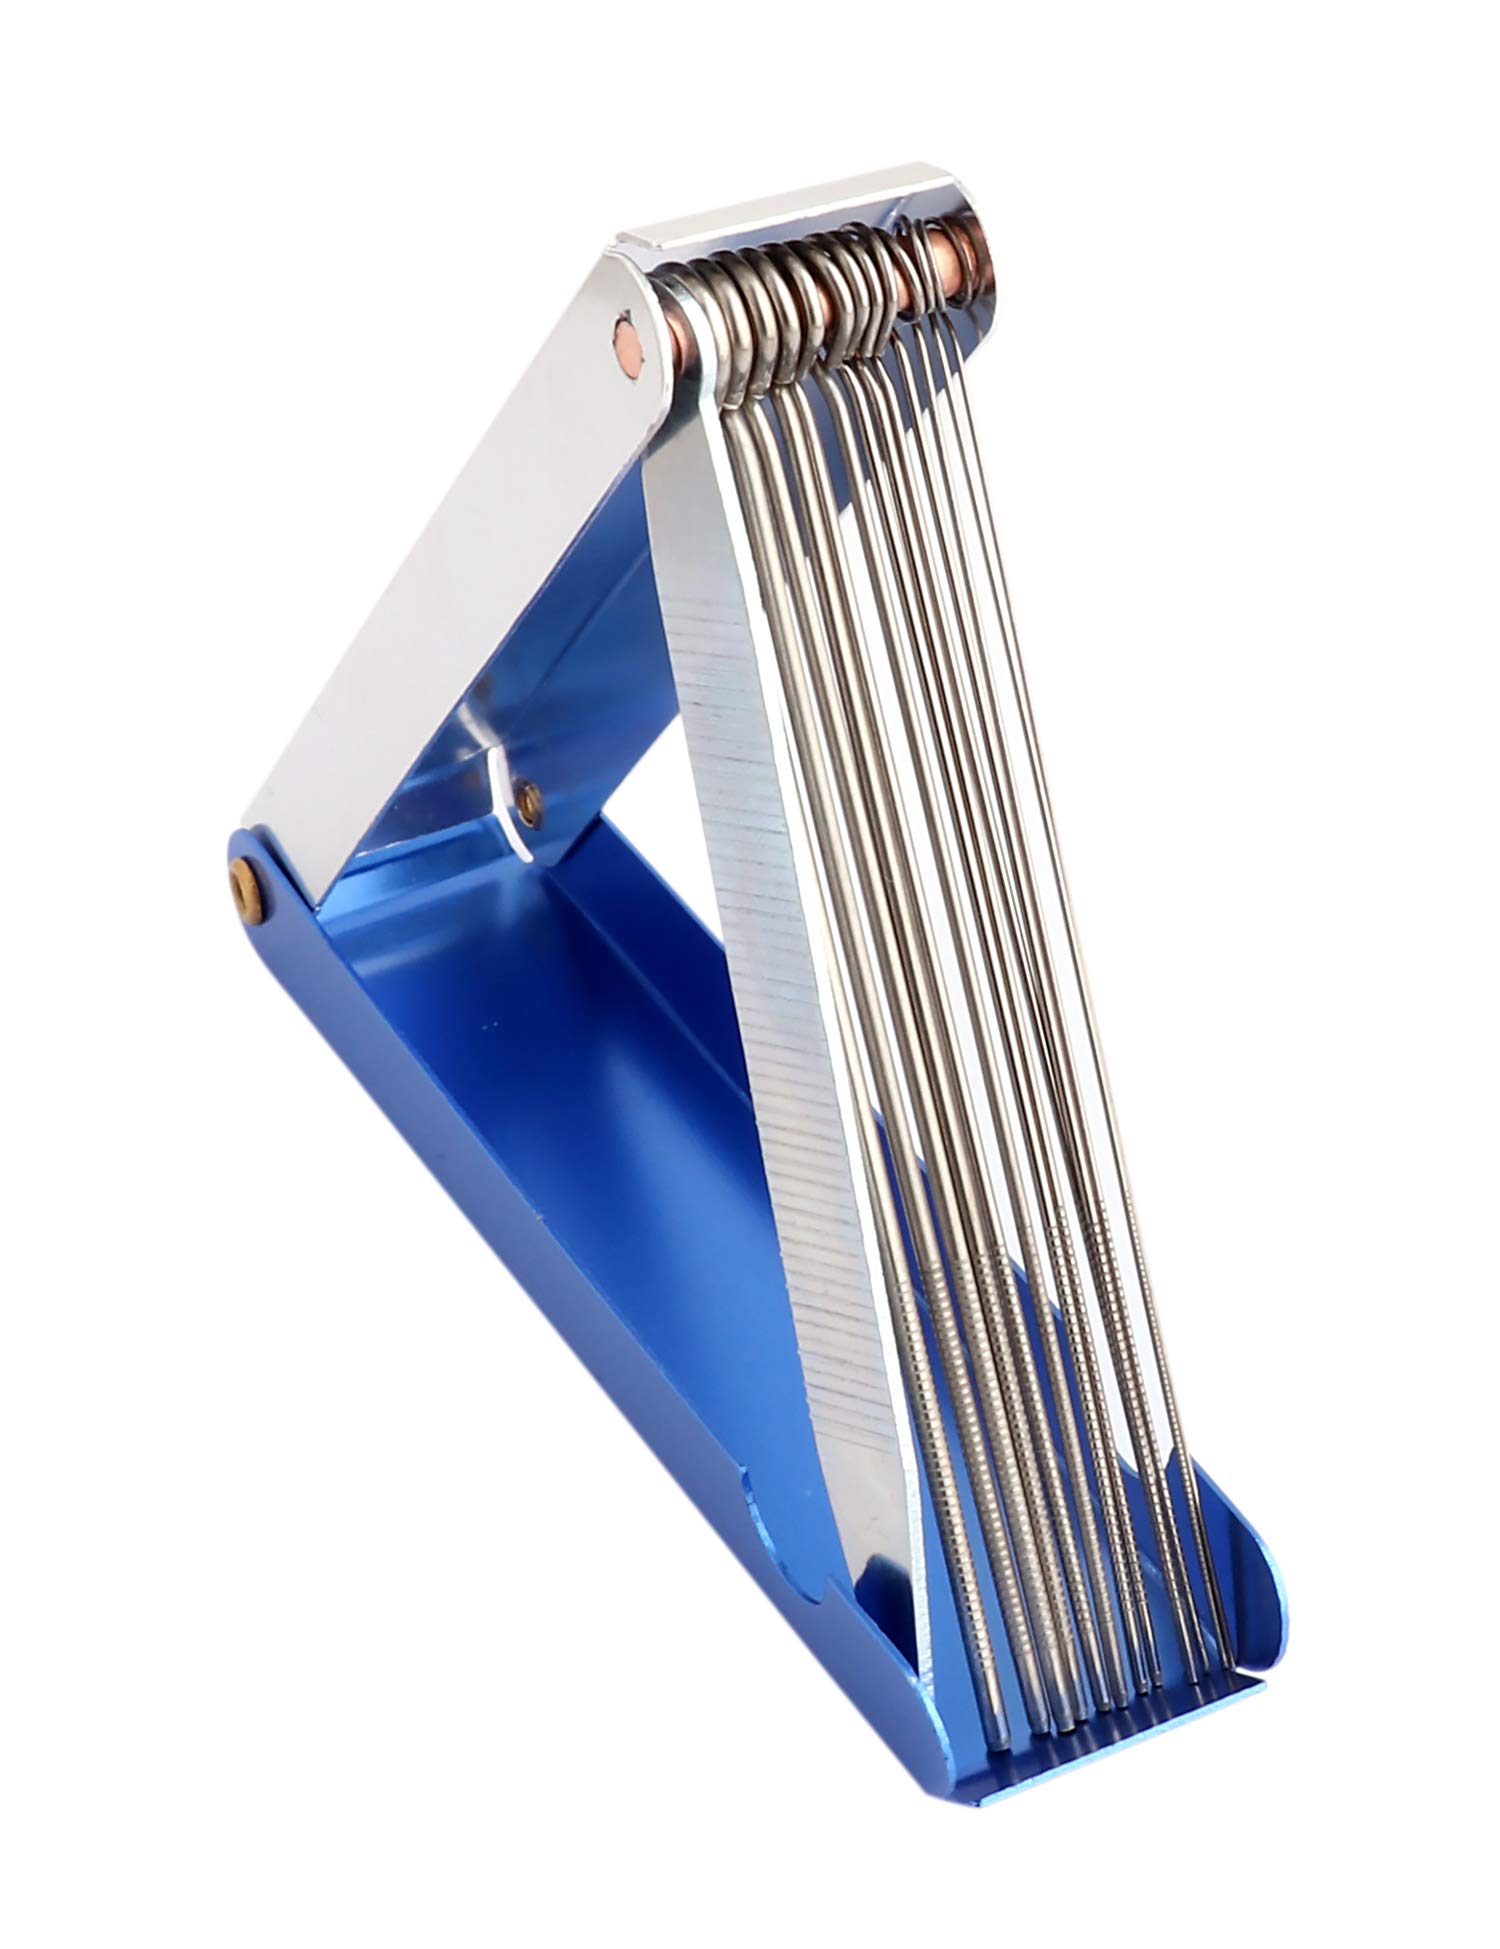
First, ensure you have a clean, well-lit workspace. You'll need a new nut (preferably bone or synthetic bone), a set of nut files, a small saw, a flat file, and some sandpaper. If you're unsure about the tools, refer to this essential tools for maintaining a guitar guide.
🔧 Step 2: Time to Say Goodbye to the Old Nut
Loosen your guitar strings and move them to the side. Be careful not to damage your guitar's finish. Use a small hammer and a block of wood to gently tap the nut from the side to remove it. If it's glued, apply a few drops of acetone to dissolve the glue.
✨ Step 3: Sparkle Up That Nut Slot
Use a flat file to clean out the nut slot. Be careful not to alter the slot's shape or depth. A clean slot ensures the new nut will sit perfectly.

📐 Step 4: Craft Your New Nut to Perfection
Using your flat file and sandpaper, shape your new nut so it fits the slot perfectly. The bottom should be flat, and the top should be rounded to match the curvature of your guitar's fretboard. Be patient and constantly check the fit.
🎼 Step 5: Carve Out Your Melody with String Slots
Now, it's time to cut the string slots. Use your nut files for this, ensuring each slot is the correct width for each string. The slots should be deep enough so that half the string's diameter sits above the top of the nut. For more technical tips on improving your guitar skills, check out this guide.
Correct Depth and Width for Each Guitar String Slot
🎵 Step 6: Install Your Nut and Fine-Tune Your Sound
Install the nut in the slot. You can use a small amount of wood glue to secure it, but it should fit snugly even without glue. Restring your guitar and check the string height at the first fret. If the strings are too high or too low, remove the nut and make the necessary adjustments.
🎉 Step 7: The Encore - Final Check and Celebration
Play your guitar and listen for any buzzing or tuning problems. If everything sounds good, congratulations! You've successfully repaired your guitar nut.
Repairing a Guitar Nut Quiz
Test your knowledge about the steps involved in repairing a guitar nut.
Learn more about 🎸 Repairing a Guitar Nut Quiz or discover other Guitars Republic quizzes.
To maintain your guitar and prevent future issues, follow these guitar maintenance tips. With proper care, your guitar will continue to provide beautiful music for years to come!


