Learn more


Are you looking to level up your guitar playing skills? One technique that can add depth and complexity to your playing is the Thumb-Index-Middle-Ring technique. In this step-by-step guide, we'll walk you through the process of mastering this technique.
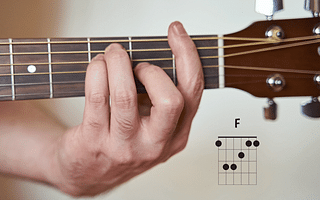
Step 1: Position Your Hand
Start by positioning your hand correctly. Place your thumb on the lower E string, and your index, middle, and ring fingers on the G, B, and high E strings respectively. This is your home position.
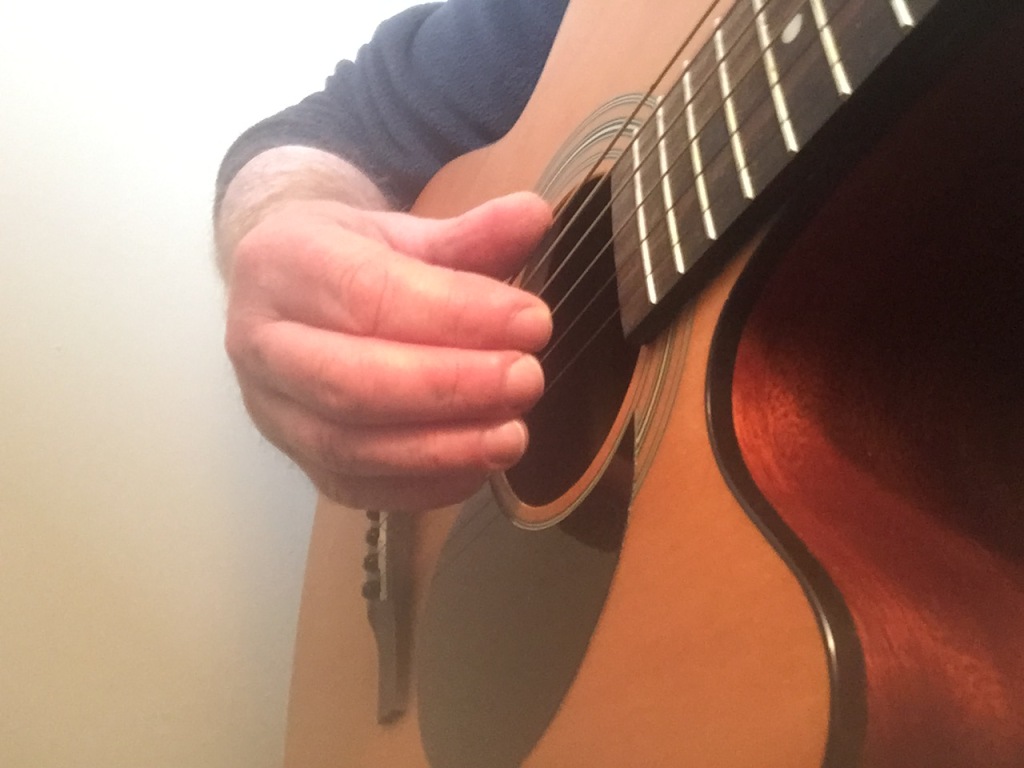
Step 2: Thumb Movement
Now, let's focus on your thumb. Use your thumb to pick the lower E string. The thumb is responsible for playing the bass notes, typically found on the E, A, and D strings.
Step 3: Index Finger Movement
Next, it's time to involve your index finger. Use your index finger to pick the G string. Remember to bring your index finger back to its home position after each pick.
Step 4: Middle Finger Movement
Now, let's bring in your middle finger. Use your middle finger to pick the B string. Just like with the index finger, ensure that your middle finger returns to its home position after each pick.
Step 5: Ring Finger Movement
Finally, it's time to incorporate your ring finger. Use your ring finger to pick the high E string. This completes one cycle of the thumb-index-middle-ring technique.
Step 6: Repeat the Cycle
To truly master this technique, you'll need to practice and repeat the cycle of thumb-index-middle-ring. Make sure that each finger returns to its home position after picking. With time and practice, this movement will become second nature to you.
By mastering the Thumb-Index-Middle-Ring technique, you'll be able to add complexity and depth to your guitar playing. Experiment with different patterns and rhythms to create unique sounds and enhance your musicality.
Remember, mastering any technique takes time and practice. Be patient with yourself and enjoy the journey of improving your guitar skills. With dedication and perseverance, you'll become a master of the Thumb-Index-Middle-Ring technique in no time.
So, grab your guitar, position your hand, and start practicing this technique today. Get ready to take your guitar playing to the next level!
All Rights Reserved © 2025