Mastering the D7 Chord: A Step-by-Step Guide
Are you struggling to master the D7 chord on your guitar? Don't worry, we've got you covered! In this step-by-step guide, we'll walk you through the process of positioning your fingers correctly, checking your hand position, strumming the correct strings, and practicing the chord changes. By following these steps, you'll be able to play the D7 chord with ease and confidence.
Step 1: Position Your Fingers
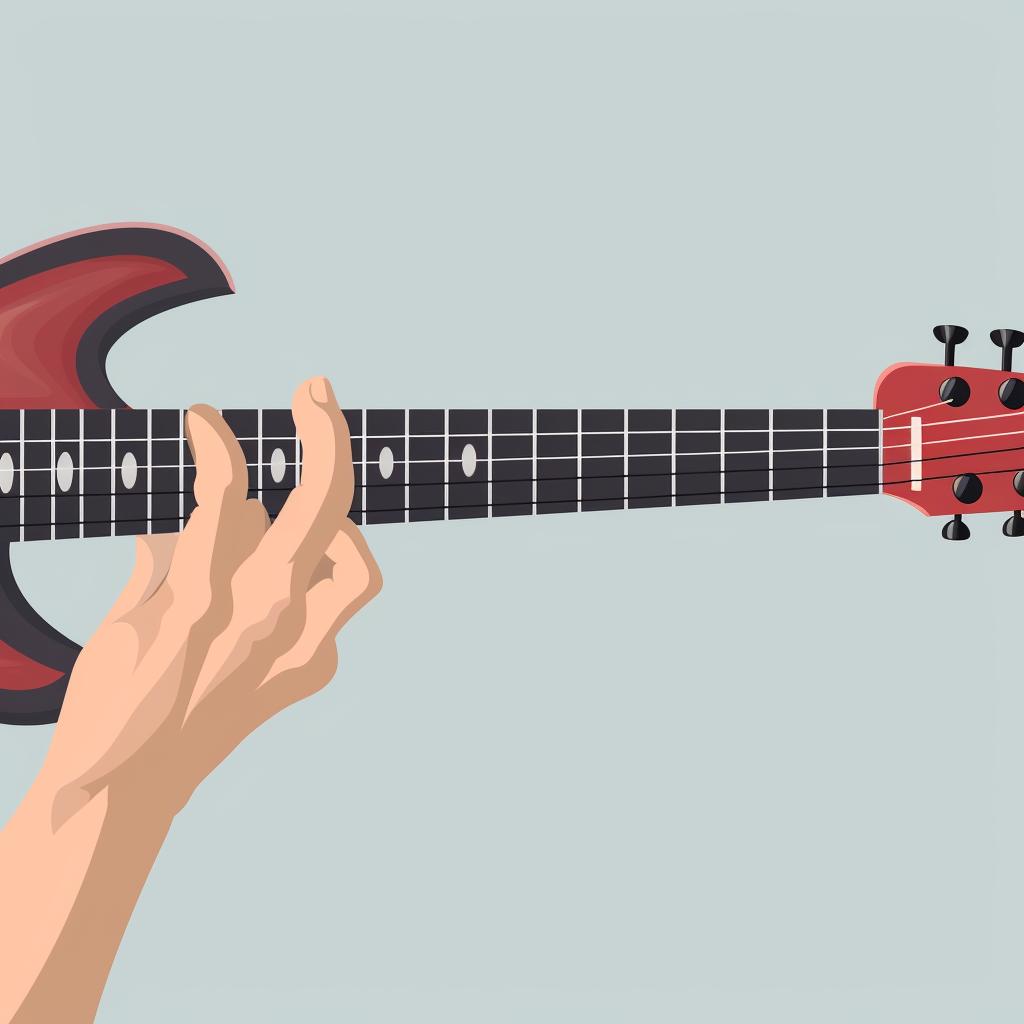
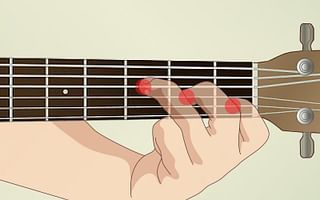
To start, place your index finger on the first fret of the second string (B string). Your middle finger should be on the second fret of the third string (G string). Finally, place your ring finger on the second fret of the first string (E string). This finger positioning is crucial for playing the D7 chord correctly.
Step 2: Check Your Hand Position
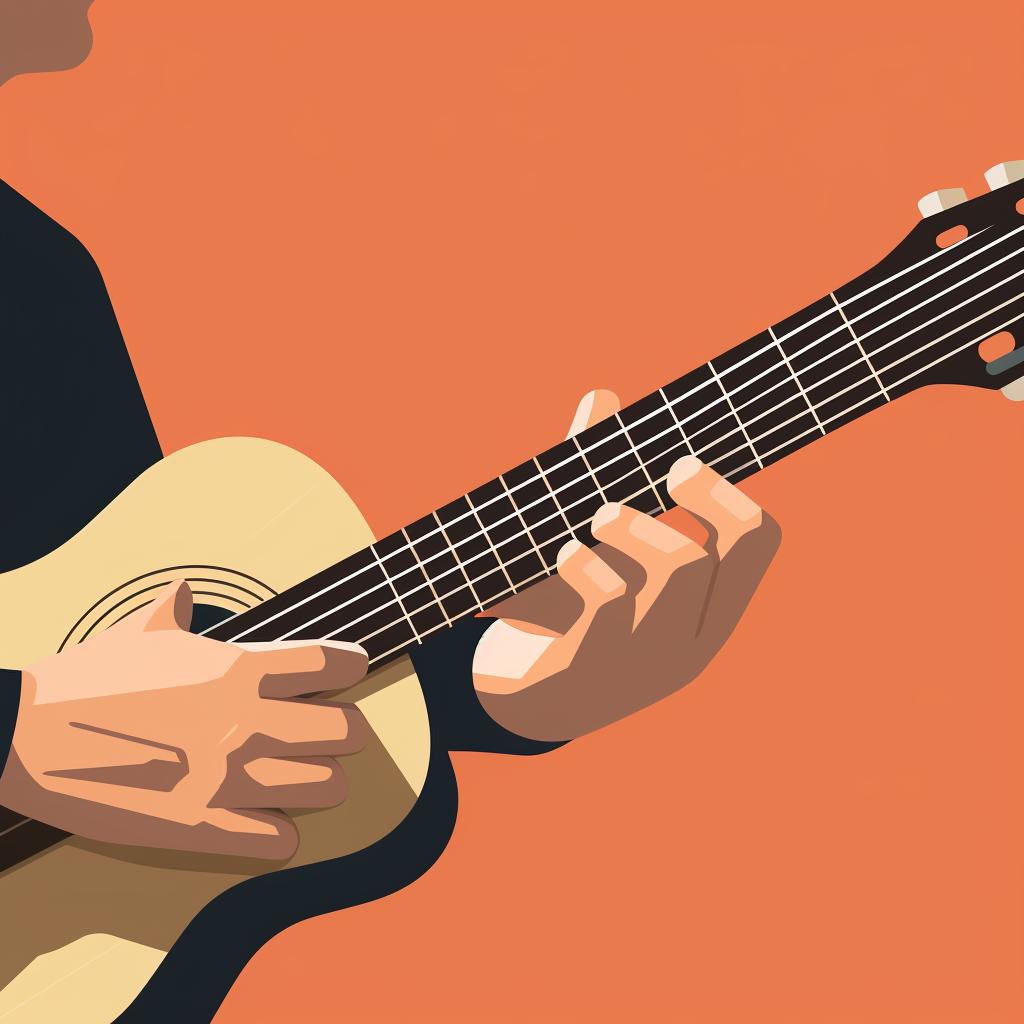
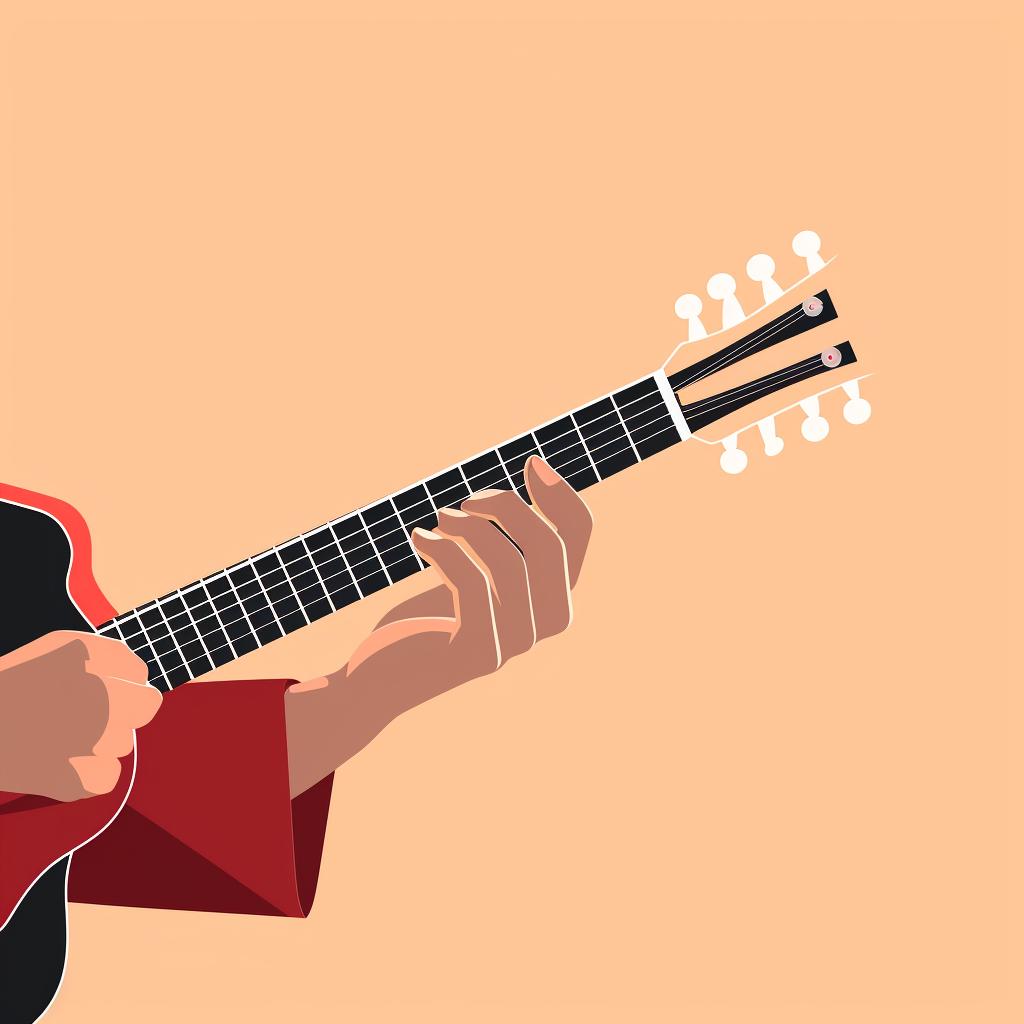
Now that your fingers are in the right place, it's important to check your hand position. Ensure that your thumb is resting lightly on the back of the guitar neck, not gripping it tightly. Your fingers should be arched, not flat, and they should be pressing down on the strings just behind the frets, not on top of them. This proper hand position will allow you to play the D7 chord smoothly and avoid any buzzing or muted notes.
Step 3: Strum the Correct Strings
When strumming the D7 chord, focus on the fourth string (D string) down. The sixth (E string) and fifth (A string) strings are not part of this chord, so try to avoid hitting them when you strum. By strumming the correct strings, you'll achieve a clean and crisp sound.
Step 4: Practice the Chord Changes
To truly master the D7 chord, it's essential to practice transitioning from the D7 chord to other chords you know. This will help you get comfortable with the chord and improve your overall playing speed. Start by practicing simple chord progressions and gradually increase the difficulty as you become more proficient.
Remember, learning to play the guitar takes time and practice. Don't get discouraged if you don't get it right away. Keep practicing and you'll eventually become a master of the D7 chord.
For more helpful tips, guides, and articles on improving your guitar skills, visit Guitars Republic. We're your ultimate guide to everything about guitars, from beginners to professionals. Let us help you become the guitarist you've always dreamed of being. Happy playing!

