

1. The Basics of E7 and D7 Guitar Chords
Hey there, guitar enthusiasts! Today, we're diving into the world of classic guitar chords for beginners. We'll be focusing on two of the most versatile and commonly used chords in music: the E7 and D7. These chords are like the bread and butter of guitar playing, and mastering them can significantly improve your guitar skills. So, let's get strumming!
The E7 and D7 are known as seventh chords. They're a bit jazzier and more complex than your basic major or minor chords, but don't let that scare you away. They're still easy guitar chords for beginners to pick up. The '7' in their names refers to the fact that they include a note which is a seventh above the root note. In the case of E7, that's a D note, and for D7, it's a C note. This extra note gives these chords a richer, more textured sound.

Understanding guitar chords is all about recognizing patterns. For the E7 chord, the pattern starts with the E note (the root), followed by the G# (the major third), the B (the perfect fifth), and finally the D (the minor seventh). The D7 chord follows a similar pattern, starting with D (the root), followed by F# (the major third), A (the perfect fifth), and C (the minor seventh).
These chords are not just theoretical concepts, they're practical tools. You'll find them in countless songs across a variety of genres. So, mastering E7 and D7 chords is not just about understanding guitar chord techniques, it's about expanding your musical vocabulary and unlocking new possibilities on your guitar journey.
Stay tuned for the next sections where we'll go through a step-by-step e7 guitar chord tutorial and a comprehensive d7 guitar chord guide. We'll also cover common variations and fingerings, tips for smooth transitions, and how to apply these chords in songs. Let's make some music!
2. How to Play the E7 Chord
Alright, folks! Now that we've got the basics down, let's dive into the nitty-gritty of playing the E7 chord, a classic guitar chord for beginners. This is where the magic happens, where theory meets practice. So, grab your guitar and let's get started!
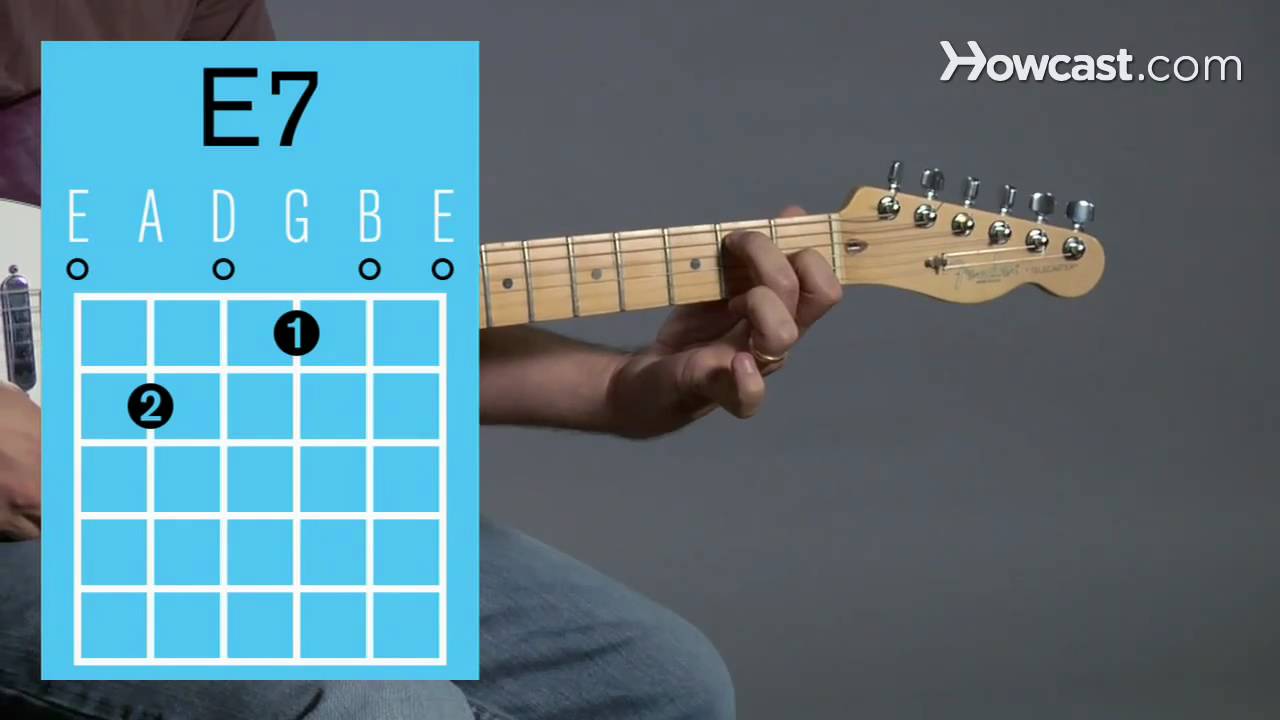
Playing the E7 chord is a relatively simple process. This chord is played on the first four strings of your guitar, and it's a great way to start improving your guitar skills. Here's a step-by-step guide:
1. Firstly, place your index finger on the first fret of the third (G) string. This is the G# note.
2. Next, place your middle finger on the second fret of the fifth (A) string. This is the B note.
3. Finally, place your ring finger on the second fret of the fourth (D) string. This is the E note.
And voila! You've just played the E7 chord. 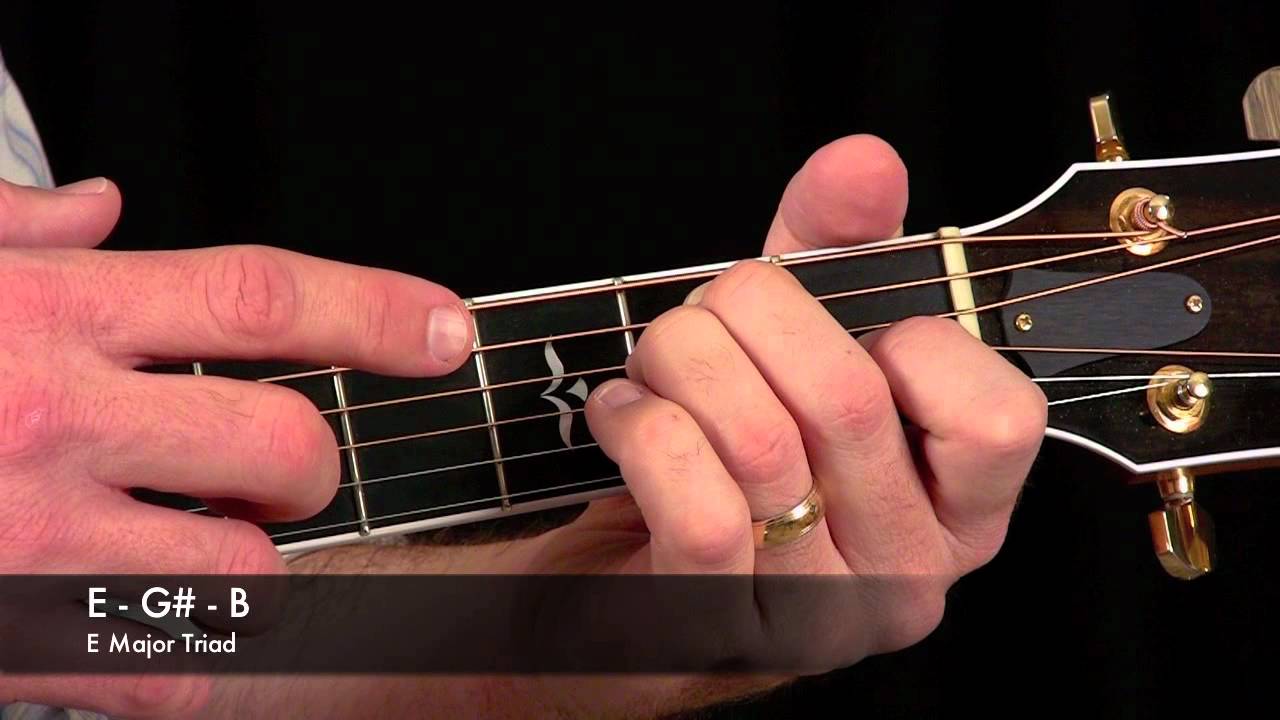
Remember, the open sixth (E) string and the open second (B) and first (E) strings are part of the chord, so make sure to strum all six strings. The D note, which makes this chord a seventh, is found on the open fourth string.
It's important to note that everyone's hands are different. You might find it more comfortable to use different fingers than suggested, and that's perfectly okay. The key is to find what works best for you. The goal is to play the chord cleanly, with each note ringing out clearly.
Now, I know it might feel a bit awkward at first, especially if you're new to guitar. But don't worry, that's completely normal! With consistent practice, your fingers will get used to the positions and movements, and playing the E7 chord will become second nature.
So, there you have it: your e7 guitar chord tutorial. Practice this chord until you can play it smoothly and confidently. And remember, the journey of mastering guitar is not a sprint, it's a marathon. So, take your time, enjoy the process, and keep strumming!
3. Mastering the D7 Chord
Alright, guitar enthusiasts, it's time to move on to our next chord: the D7. This is another classic guitar chord for beginners, and mastering it will significantly boost your guitar skills. So, let's dive in!
Playing the D7 chord involves using the first four strings of your guitar. Here's a simple step-by-step guide to get you started:
- First, place your index finger on the first fret of the second (B) string. This is the C note.
- Next, put your middle finger on the second fret of the third (G) string. This is the A note.
- Finally, place your ring finger on the second fret of the first (E) string. This is the F# note.
And there you have it! You've just played the D7 chord. 
Remember, the open fourth (D) string and the open fifth (A) string are part of the chord, so make sure to strum all five strings. The C note, which makes this chord a seventh, is found on the first fret of the second string.
Just like with the E7 chord, it's crucial to find the fingering that feels most comfortable for you. Everyone's hands are different, and what works for one person might not work for another. The most important thing is to ensure that each note rings out clearly and cleanly.
Now, I won't sugarcoat it: playing the D7 chord might feel a bit strange at first, especially if you're new to guitar. But don't fret! With consistent practice, your fingers will adjust to the new positions, and playing the D7 chord will become as easy as pie.
So, there you have it: your d7 guitar chord guide. Keep practicing this chord until you can play it smoothly and confidently. Remember, the path to improving guitar skills is a journey, not a race. So, take it slow, enjoy each step, and keep those strings humming!
4. Common Variations and Fingerings
Now that we've got a handle on the basic E7 and D7 chords, let's delve into some common variations and fingerings. Remember, guitar playing is as much about personal style as it is about technique. So, don't be afraid to experiment and find what works best for you!
First, let's talk about the E7 chord. A popular variation of this chord involves adding the pinky finger on the third fret of the second string. This adds a D note to the chord, giving it a richer, fuller sound. Here's how to do it:
Place your pinky finger on the third fret of the second string, while keeping the rest of your fingers in the standard E7 position. Strum all six strings, and voila! You've just played an E7 chord variation.
Moving on to the D7 chord, a common variation involves barring the first and second strings with your index finger. This can be a bit tricky for beginners, but with practice, it can really enhance your sound. Here's how:

Bar the first and second strings at the first fret with your index finger. Place your middle finger on the second fret of the third string, and your ring finger on the second fret of the first string. Strum from the fourth string down, and there you have it: a D7 chord variation!
Remember, these variations are not set in stone. Feel free to play around with them, and even create your own. The key to mastering e7 and d7 chords, or any guitar chord for that matter, is understanding guitar chords and how they work. So, keep exploring, keep experimenting, and most importantly, keep strumming!
6. Applying E7 and D7 in Songs
Now that we've got a grip on the E7 and D7 chords, let's dive into the fun part - applying these classic guitar chords for beginners into actual songs! This is where your understanding of guitar chords truly comes to life and your improving guitar skills start to shine.
First off, let's talk about the E7 guitar chord. This chord is a staple in blues and rock music. A song that beautifully showcases the E7 is 'Before You Accuse Me' by Eric Clapton. Listen to how the E7 chord adds a bluesy feel to the song, making it more dynamic and expressive. 
Next up, the D7 guitar chord. This chord is often found in country and folk music. A great example is 'Jolene' by Dolly Parton. In this song, the D7 chord is used to create tension before resolving back to the G major chord. This gives the song its unique, heart-wrenching sound. 
Remember, mastering E7 and D7 chords is not just about knowing where to place your fingers. It's about understanding how these chords work within the context of a song. So, listen to these songs, play along, and feel the magic of these guitar chords E7 and D7.
As you continue your journey in learning easy guitar chord for beginners, keep exploring different songs and genres. This will not only make your practice sessions more enjoyable but also help you develop a versatile guitar chord technique.
So, pick up your guitar, strum those strings, and let the music guide you. Happy playing!
7. Practice Exercises to Improve Your Chord Technique
Alright, fellow strummers, it's time to get those fingers moving! In this section, we'll delve into some practice exercises to help you hone your guitar chord techniques, particularly focusing on the E7 and D7 chords. These exercises are designed to be easy guitar chords for beginners, but they're also beneficial for more advanced players looking to keep their skills sharp.
Our first exercise is a simple chord transition practice. Start by strumming the E7 chord, then smoothly transition to the D7 chord. Repeat this back and forth transition for a few minutes each day. This will not only help you get comfortable with these chords but also improve your speed and accuracy. 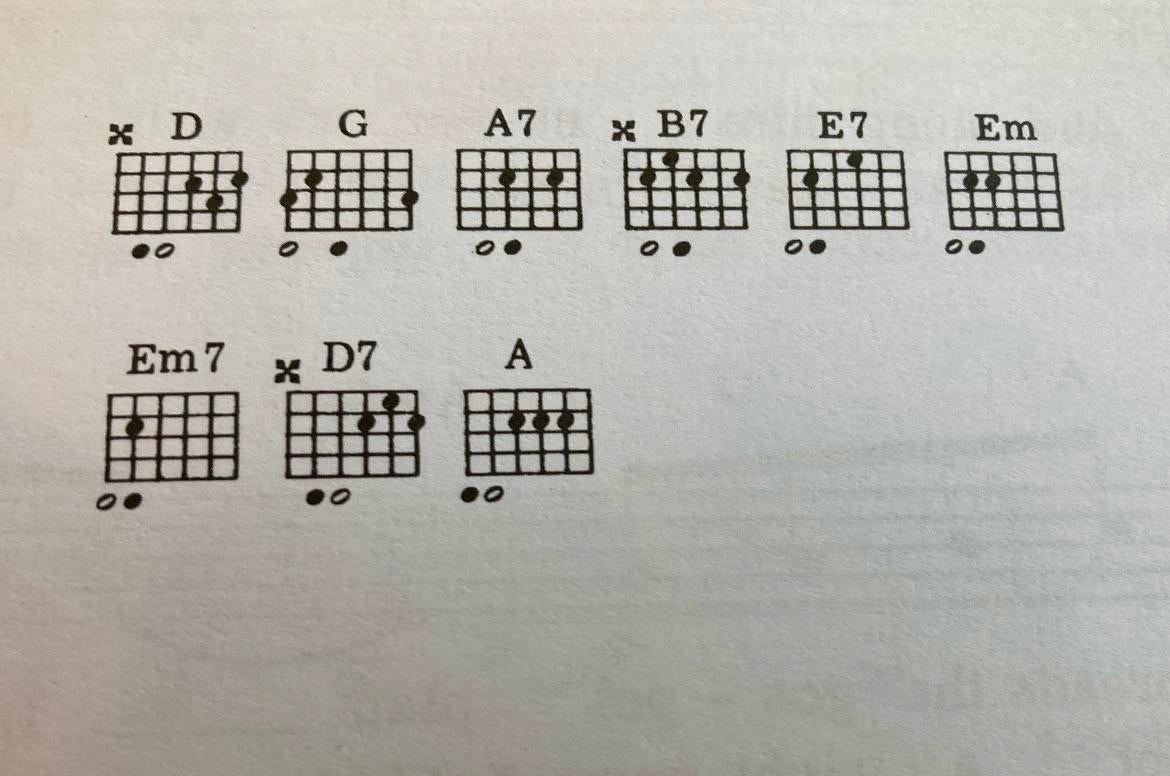
Next, let's add a bit of rhythm to our practice. Try strumming the E7 chord four times, then switch to the D7 chord and strum four times. This exercise will help you get a feel for how these chords sound within a rhythmic context. 
Finally, let's incorporate these chords into a mini song. This exercise will help you understand how these chords work together to create a beautiful melody. Here's a simple chord progression to try: E7 - D7 - E7 - D7 - E7 - D7 - E7. 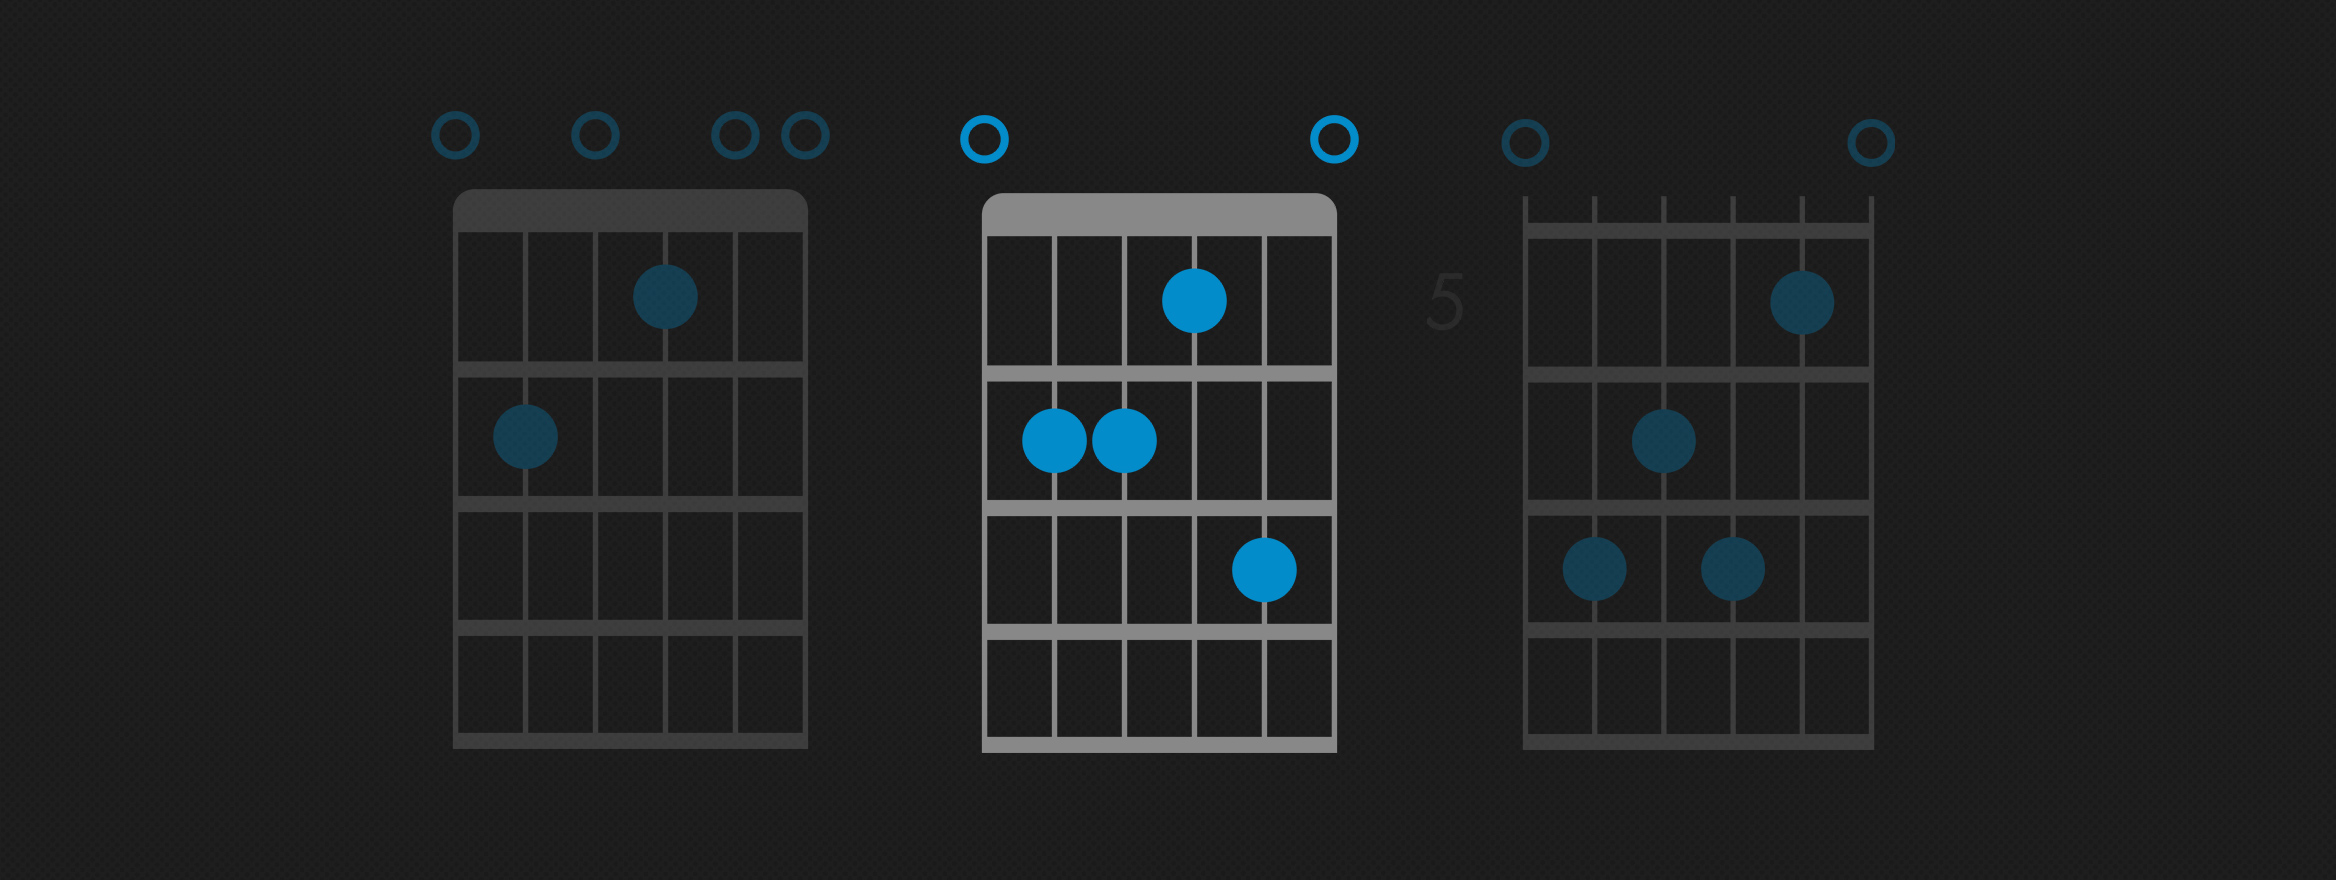
Remember, the key to mastering E7 and D7 chords, or any guitar chord for that matter, is consistent practice. So, make these exercises a part of your daily routine. And most importantly, have fun with it! After all, playing guitar is all about enjoying the music and expressing yourself. So, keep strumming, keep improving, and keep the music alive. Rock on!
5. Tips for Smooth Transitions between E7 and D7
Transitioning smoothly between chords is a crucial skill for any guitarist, and it's especially important when dealing with classic guitar chords for beginners like E7 and D7. So, let's dive into some tips to help you master these transitions.
Firstly, it's all about finger placement. When moving from E7 to D7, try to keep your index finger on the first string. This acts as a pivot point, making the transition smoother and faster. 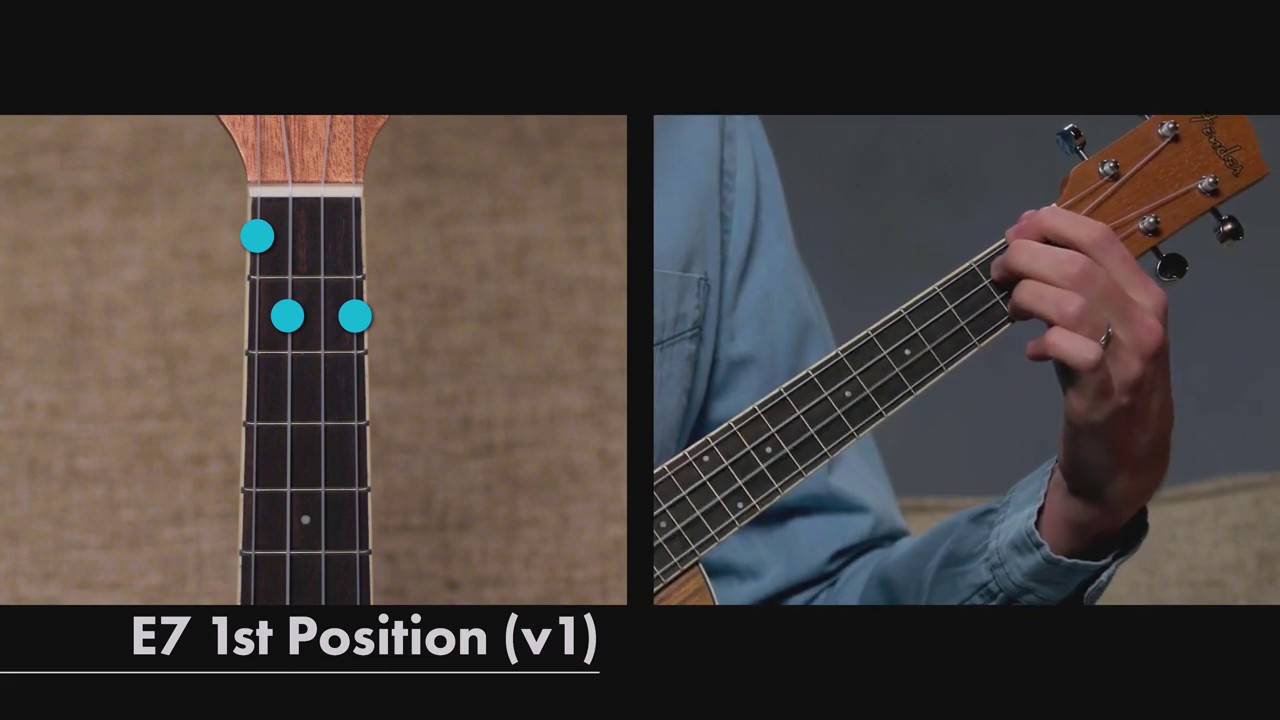
Secondly, practice the 'lift and land' technique. This involves lifting your fingers off the fretboard just enough to move them to the next chord, and then landing them back down. It's a simple but effective way to improve your guitar skills. 
Another tip is to visualize the chord shapes before you play them. This can help you anticipate the movements you need to make, leading to smoother transitions.
Finally, remember that practice makes perfect. Spend time each day working on these transitions, and before you know it, you'll be moving between the E7 and D7 chords with ease. Use a metronome to help you keep a steady rhythm as you practice. 
Remember: The goal is not just to play the chords, but to make the transition between them sound smooth and musical. So, keep these tips in mind as you continue your journey of understanding guitar chords and improving your guitar skills. Happy strumming!


No comments yet. Be the first to share your thoughts!