Learn more


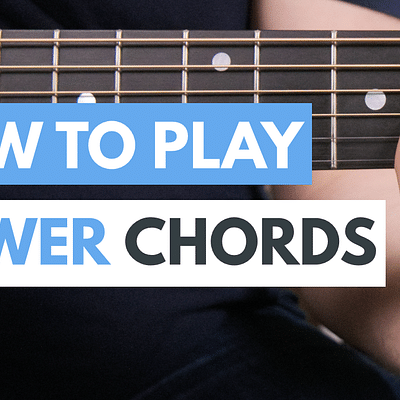
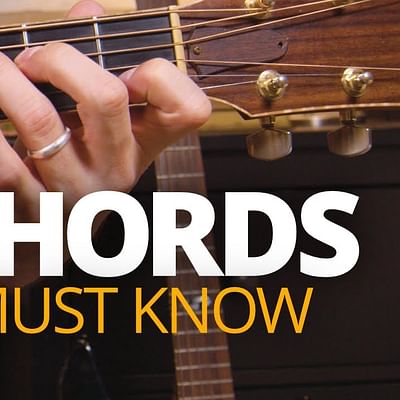
Are you ready to take your guitar skills to the next level? Look no further than our step-by-step guide to mastering the A7 chord. This essential chord is a must-know for any guitarist, whether you're a beginner or a seasoned pro. In this guide, we'll walk you through the process of positioning your fingers, strumming the strings, checking the sound, and practicing regularly.
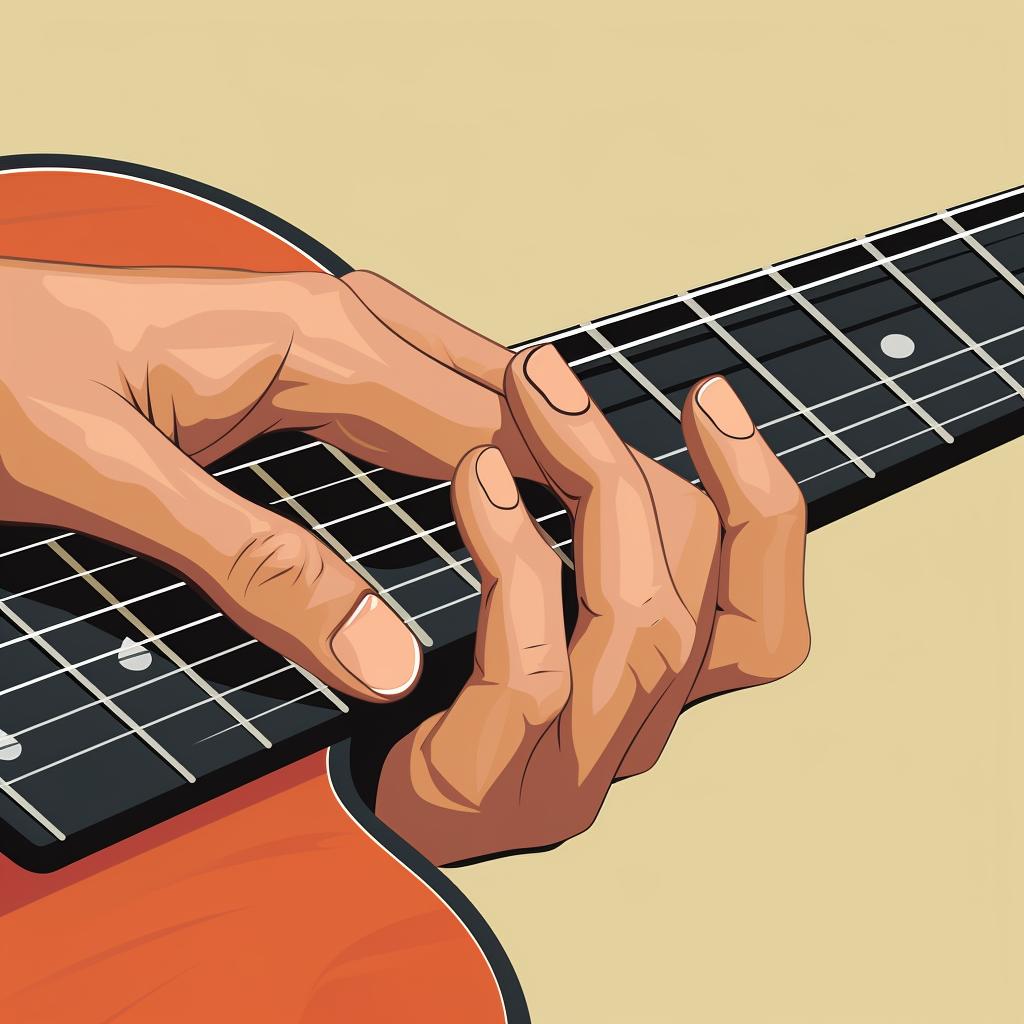
To start, position your fingers on the fretboard. Place your index finger on the 1st fret of the 3rd string (G string) and your middle finger on the 2nd fret of the 4th string (D string). Remember to keep your fingers curved, not flat, to avoid muting other strings. This proper finger placement is crucial for achieving a clean sound.
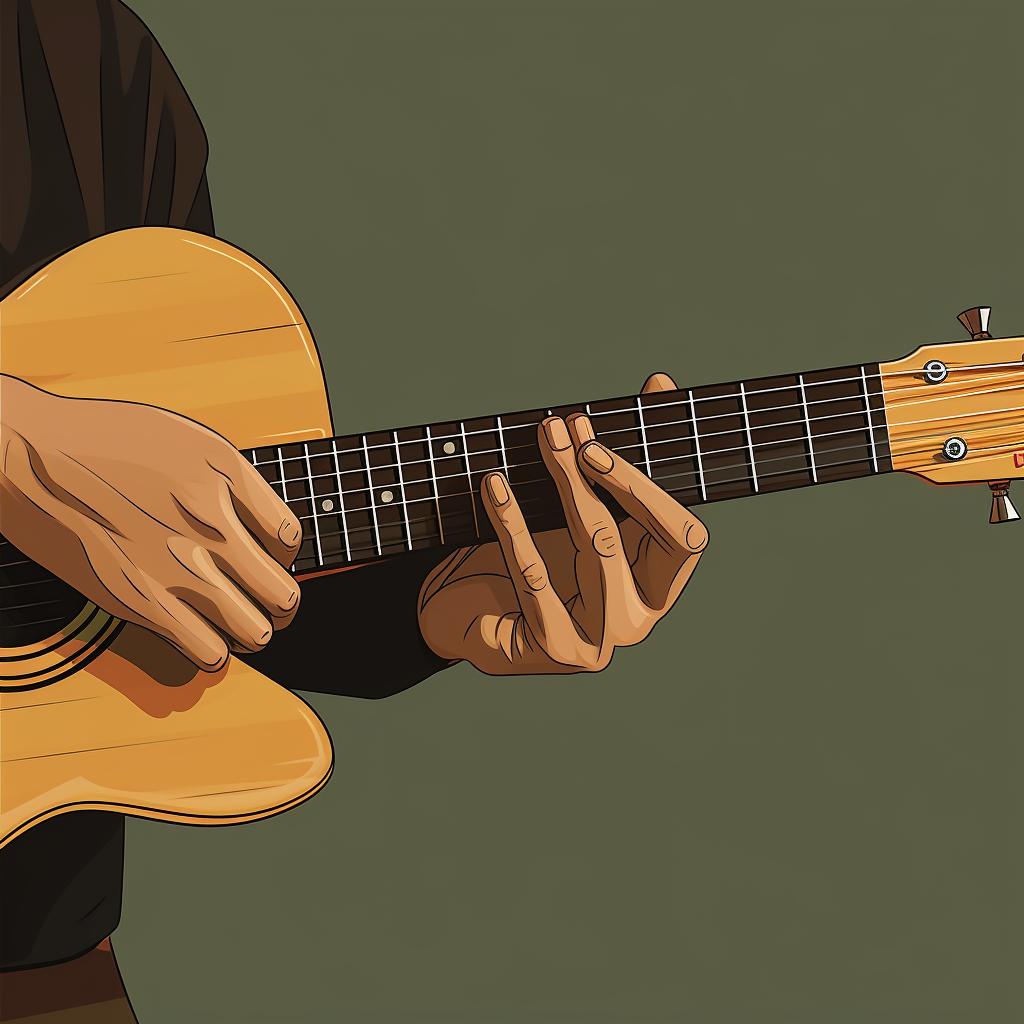
Once your fingers are in position, it's time to strum the strings. Start from the 5th string (A string) and strum down to the 1st string (High E string). Be careful not to strum the 6th string (Low E string), as it is not part of the A7 chord. The key here is to maintain a steady rhythm and strum all the strings evenly.
After strumming, it's important to check the sound produced. Listen attentively to ensure that the A7 chord sounds clear and resonant. If any of the notes sound muted or buzzy, adjust your fingers and try again. Remember, practice makes perfect, and it may take some time to achieve the desired sound.
Speaking of practice, regular practice is key to mastering any new chord. Set aside dedicated time each day to practice the A7 chord. Start by playing it slowly and gradually increase your speed as you become more comfortable. Remember, it's not about achieving perfection right away, but rather making progress over time.
As you work on mastering the A7 chord, don't forget to have fun and enjoy the process. Playing the guitar is a journey, and each new chord you learn brings you one step closer to becoming the guitarist you aspire to be. Embrace the challenges, celebrate your successes, and keep pushing yourself to improve.
So, what are you waiting for? Grab your guitar, follow our step-by-step guide, and start mastering the A7 chord today. With practice and dedication, you'll soon be strumming along to your favorite songs with confidence and skill. Happy playing!
Note: The widget mentioned above will be automatically inserted below this content.
All Rights Reserved © 2025